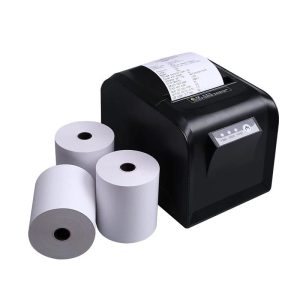
Thermal Till Rolls
Thermal Till Rolls – Make Every Receipt Count with This Simple Loading Guide
Using thermal till rolls is one thing—loading them correctly is another. If you’ve ever dealt with paper jams, blank receipts, or faulty prints, you know how frustrating improper loading can be. The good news? Loading thermal paper into your POS printer is simple once you know the steps. Whether you’re a new business owner or training new staff, this guide will help you load your till rolls like a pro—every time.
Let’s walk through the process and make sure your POS system runs smoothly from the first print.
Why Proper Loading Thermal Till Rolls Matters
Improper loading can cause:
-
Blank or faded receipts
-
Paper jams
-
Unreadable transactions
-
Damage to the printer
A few extra seconds of care can save money on wasted paper, reduce maintenance costs, and keep the checkout process efficient and professional.
What You’ll Need
-
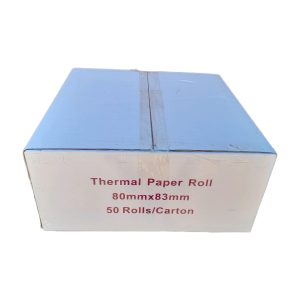
A compatible thermal till roll
-
Your POS thermal printer
-
Clean hands and a dry surface
Tip: Always verify the roll size and width matches your POS machine specs before loading.
Step-by-Step: How to Load Thermal Till Rolls
Step 1: Turn Off the Printer
Before you begin, switch off the POS printer. This protects both you and the device from accidental damage.
Step 2: Open the Paper Compartment
Most POS printers have a clearly marked button or latch to open the cover. Gently lift or slide it open to reveal the empty paper compartment.
Step 3: Remove the Spindle or Holder (if applicable)
Some printers use a roll holder or spindle. Remove it to make space for the new roll.
Step 4: Identify the Thermal Side
Thermal paper has a coated side that reacts to heat. To identify it, scratch both sides of the roll with your fingernail:
-
The side that turns black = thermal side.
-
This side must face the print head.
Step 5: Insert the Till Roll
Place the roll so that the thermal side faces down toward the print head. Pull a few centimeters of paper out beyond the cover—this ensures it’s ready to print.
Step 6: Close the Lid or Compartment
Close the cover gently but firmly until it clicks. The paper should stick out slightly from the slot.
Step 7: Turn On the Printer
Power the device back on. It should automatically feed and detect the paper. If it doesn’t, use the manual feed button.
Common Mistakes to Avoid
-
Loading the roll backward (will result in blank prints)
-
Using the wrong size roll (can cause jams or paper waste)
-
Leaving the paper slack (causes misfeeds)
-
Handling the thermal side too much (can affect print quality)
Maintenance Tips for Your POS Printer
Keep your printer running efficiently by:
-
Cleaning the print head regularly
-
Storing till rolls in a cool, dry area
-
Using high-quality, BPA-free thermal paper
-
Replacing worn-down parts like feed rollers when needed
Need Quality Thermal Till Rolls?
Already mastered loading? Make sure you’re using premium-grade thermal till rolls to protect your investment. Poor-quality paper can cause:
-
Dust buildup in the printer
-
Shortened printer lifespan
-
Hard-to-read receipts
Explore our affordable till rolls for sale for fast, clear printing with every transaction.
Final Thoughts about Thermal Till Rolls
Loading thermal till rolls correctly is easy—but it makes a big difference. A smooth-loading, smooth-printing setup keeps customers happy and operations flowing. Remember, every receipt is a reflection of your business. Load it right, print it clean, and stay efficient.
Want to dig deeper into thermal printing? Learn more in this thermal paper guide on Wikipedia.
Need help?
Contact Country Paper and our expert team will guide you to the perfect solution for your business needs.
Check out this article: The Ultimate Guide to Thermal Paper Rolls: What You Need to Know